Hellooooo, How is everyone today?? I this post finds you all well. I am back again with another DT Swap layout, this month I had to do Donna’s photo. This was such a fun photo to scrap! I hope you like it Donna!
Lots of stitching on this one, I have even machine stitched over the chipboard letters. The drips in the background were created by mixing embossing powder with the Mix’d Media Re-Inkers then adding dots of the mixture to the top of the page. Then hold the page up vertically and water spritz over these to create drippage. Once you are happy with the drips you can then heat set the remaining embossing powder. It gives it a nice grainy look like sand particles.
Isn’t this year just flying by, I swear the years are going quicker and quicker each year. Hi there, Michelle back again with another layout created using more gorgeous Donna Salazar products with a simple Emboss Gloss tutorial tip.
I was lucky to snap this gorgeous pic of my DD Leonii as she was going to a fancy dress party. I created the frame in photoshop with Digital brushes from HERE
I have used the Spellbinders Bitty Blossoms to make these flowers.
Emboss Gloss – Embossed Title Tutorial
The Emboss Gloss stick is perfect for embossing small Alphabet Stickers. You can get a gorgeous range of colours in the Mix’d Media Embossing Powders. So the possibilities are endless, you can change the colour of any lettering to suit your projects.
To complete this tutorial you need and Emboss Gloss Stick & Mix’d Media Inx Embossing Powder. A sheet of Alphabet stickers and a heat gun. And tweezers are handy for doing this technique too.
Step 1: Using the emboss gloss wand paint over the letter that you want to change the colour of. Try staying inside the lines of the alphabet stickers with the Emboss Gloss as this makes it easier to remove the sticker after you have embossed it.
Step 2: Sprinkle the embossing powder over the Emboss Gloss.
Step 3: Heat set the embossing powder with a heat gun.
Step 4: Use you tweezers to remove the letters to add to your project.
This article was on getting creative with Chipboard.
Issue #15 is out now! You can also purchase it from HERE All the step by steps for these layouts are also in the magazine.
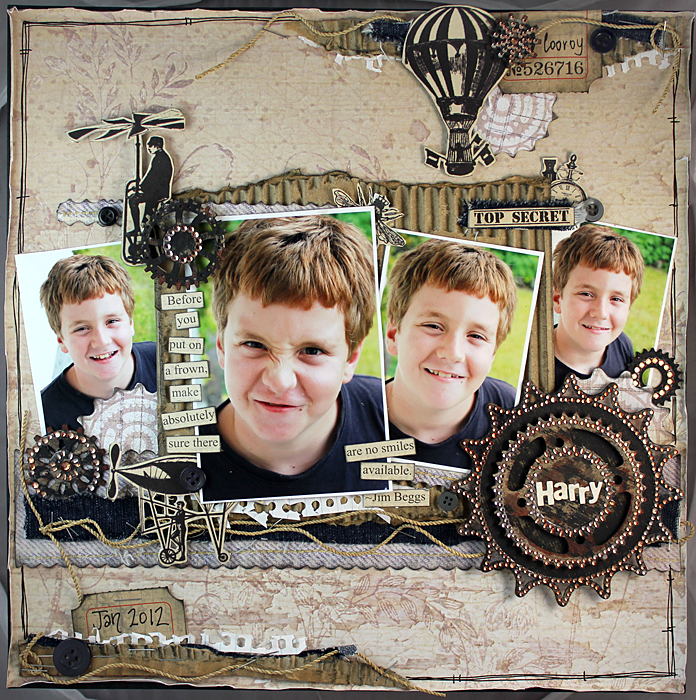
This is my Nephew Harry, he has such a quick wit he definitely makes us laugh!
This is a very special layout to me, this is my good friend Larnie! She always lit up the room with her smile and bubbly personality when she was around. Sadly we lost Larnie in a car Accident last year. I know she is always with us, will miss you always Hun. x
Catching up with some more news here, I was excited and honoured to have been asked to design for the Australian Scrapbook Ideas Magazine. My first article in issue #14 was on Effective ways to create your own backgrounds.
All the Steps to Creating these layouts can be found in the magazine. This Issue can still be purchased HERE
This Layout of my gorgeous friend Mistra and me was created using a resist stamping and inking technique on the background.
This is my beautiful niece Gracie! She is such a gorgeous little girl! I have used a masking technique with Misting and water colour pencils on this background.
This Photo is of my Great Aunty Dot who recently passed away, I love this vintage photo of her. This background was created using tissue paper to create a textured background.
How cute is this little girl, this is my Cousins daughter Mitali and her Dad Darcy. This was a fun background to create. I have used texture paste, sea shells and egg shells to created this textured background.
Thank you for Dropping By!! Wishing you a fabulous day! Hugs Michelle xxx