Navigate / search

Take the Leap ~ Dusty Attic ~ Canvas & Textured Modelling Paste Background Tutorial

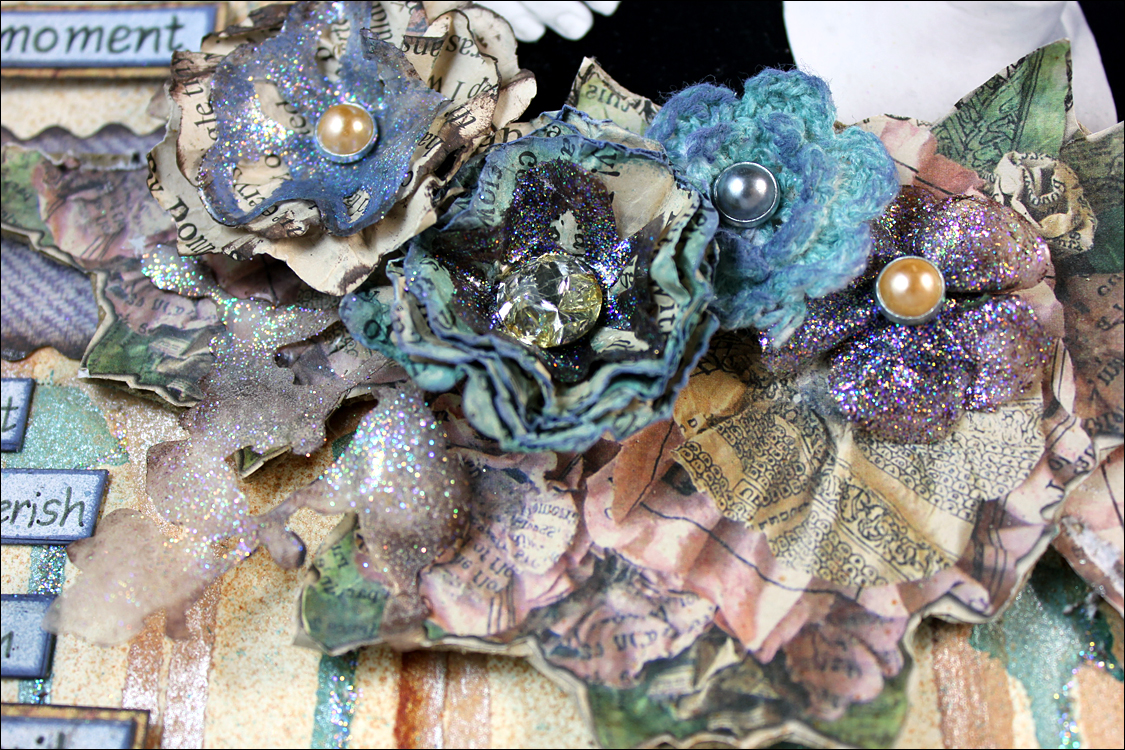
 I have really been enjoying playing with Canvas’s lately! This canvas is featuring the new Dusty Attic Birdcage and Flutterbies. I also have a tutorial on creating this background, that came about purely by accident! I had coated the background of the canvas with Modelling Paste then as I was moving a bag of stuff over it I dropped it on the canvas and when I lifted it up I went “Ooooh! I like that” so wola!! Love this textured background finish!

  The New Dusty Attic Flutterbies


& The New Birdcage
 

Textured Modelling Paste Background Tutorial

 Step 1: Use a spatula and coat the canvas with a thin layer of modelling paste

 Step 2: This is where by accident I dropped a bad of fibers on the canvas onto the wet modelling paste.

 Step 3: Just lay the plastic bag onto the canvas and lift up.

 Step 4: Do this over the whole canvas

 Step 5: You can see the texture in the modelling paste. I dried this off a bit before inking.

 Step 6: I have used Smooch Spritz to spray over the modelling paste.

 Step 7: Once you are happy with the colour placement over the canvas you can leave to dry. I tipped the canvas on different angles to get the colours to run along the creases in the modelling paste. I have only just overlapped some of the colours to prevent them getting too muddied and blending into one colour. I used my finger to wipe the inks around the edges.

 Step 8: Using your finger and some Gesso, lightly wipe your finger over the raised creases in the modelling paste to highlight the texture.

 Step 9: Once you are happy with the colours you can leave to dry then decorate.


 I hope you enjoyed my happy accident! 🙂
 

Materials:

Dusty Attic 

Birdcage #6 –  DA0714
Flutterbies #2  – DA0713mini Birds #1DA0723

Dusty in Bloom – Cornsilk, Wild Moss, Smokey Blue & Leaves

Other

Modeling paste
White Gesso
Clearsnap – Smooch Spritz- Green Olive, River Mossy & Sea Breaze
Beads & Gauze
Kaisercraft Rubons & Bling

Thanks for dropping by!
Have a great day!
Hugs
Michelle x

Ethan – DSD Storybook Magic – Video Tutorial – Creative Backgrounds

These story book papers are so cute for kids pages, I have used these photos of my cousin Toni’s son Ethan from our last holidays to the beach!
I have also done another Video Tuturial, this time on a creative background technique using Smooch Spritz & Rock Salt. I hope you enjoy this tutorial, and thank you to everyone who watched my first one!


This is what these papers loooked like before::

Enjoy this Video Tutorial on a creative background technique:

Materials:

Clearsnap

GCD Studios
Papers
 

Other Products:

Rock Salt
Gesso
Glossy Accents


Adhesives
Helmar Tiger Grip 
Double sided tape & 3D Foam Tape!
Tools
Craft Knife, Fine tip Scissors
Heat Gun


Thanks again for dropping by and checking out my tutorial!
Have a Great Day!
Hugs
Michelle xxx

My Girl – DSD – My fist Video Tutorial – Handmade Flowers with Lace.

Hi there, so lovely to see you here again! Today I have another Donna Salazar Creation to share with you. Using the Beautiful Botanique Paper Range and the Want2Scrap – Build your own Bling.
I have also created my very first online video tutorial. It has been a huge learning curve for me and very nerve wracking. I think I sound dreadful on camera but anyway it is done! I am a little excited that it is done now too! The Video Tutorial is on making your own handmade flowers with the Mix’d Media Stax papers and Lace, with a little smooch and fairy dust thrown in for good measure.
I will also be sharing a tip here on colouring bling to suit your projects.

Here is the layout I have created for this project. This is an old photo of my gorgeous daughter Leonii and myself taken a few years ago. There is lots of fussy cutting on this layout too.

When I am fussy cutting for clusters, I cut out whole pieces and then cut them down to smaller  pieces when needed. Helps to manipulate your fussy cut pieces to fit perfectly into the available spaces.


Coloured Bling Tutorial
 The bling on this layout started out as the clear silver bling. I have coloured them using the Smooch Spritz Sprays. Although these are not permanant inks I found that it held the colour enough for what I wanted here. You can also use Alcohol inks for a more permanent finish.
Step 1: Grab your clear bling, a smooch spritz spray,
I have used the Candle Glow Smooch here and an ink aplicator.
 Step 2: Spay a little of the smooch spritz on a piece of plastic or a craft sheet.
I have used the packet the bling come in here.
Then Load your ink applicator with the ink.
 Step 3: Then simply dab the ink over the bling.
Leave to set for a minute or two then dab off the excess with a paper Towel.
Now here is my first video tutorial! Thanks for watching!


Materials:
Clearsnap

GCD Studios
Papers

Other Products:

Lace
Decorative Brads
Basic Grey Alphabet – Hopscotch Micro Mini


Adhesives
Helmar Tiger Grip 
Double sided tape & 3D Foam Tape!
Tools
Craft Knife, Fine tip Scissors
Heat Gun
Needle & Thread (Handstitching)
Fiskers Border Punch


Thanks again for dropping by and checking out my tutorial!
Have a Great Day!
Hugs
Michelle xxx

Friendship ~ *DSD* Spellbinding Acetate Tutorial & Fairy Dust Flower Tutorial

Here is my second project for Donna Salazar Designs to share with you!
I hope you enjoy these couple of quick tutorials on creating
Fairy Dust Flowers and Spellbinging Acetate.
I love working with Donna’s products, they really do give you permission to just play and find your creative expression. I had a lot fun experimenting on this layout!
This is my gorgeous friend Deb Kingston taken on her last visit in Dec.
She really is a beautiful person inside and out!


The Handmade & Cut out flowers were made from the Crafty Chronical Paper.

I just cut rough circles from the Crafty Chronical and scrunched them up before inking them with the mix’d media inx and the smooch spritz. I then added the Fairy Dust Flowers as the centres.
I had lots of fun playing with the Smooch Spritz to create some pretty major drippage on this layout, I love how these inks worked with this Artistic Papers.

Fairy Dust Flowers – Tutorial

To make these simple flowers all you need is a Non Stick Craft Sheet, Mix’d Media Inx, Glossy Accents, Fairy Dust Glitter & Some brads or Gems.


 Step 1: Ink directly onto your craft sheet.
Step 2: Use the Glossy Accents to draw flower
shapes over the ink.

Step 3: Sprinkle your Fairy dust over the glossy
accents while it is still wet.

 Step 4: Leave overnight to dry completely, then peel
them off the craft sheet. You can use your scissors
to trim if needed.

 Step 5: Add a Brad or a Gem to the centre and slightly
scrunch the petals up. You now have a nice little
pliable glittery flower.

 Step 6: I added some of mine to the centre of some
scrunched paper flowers. I love the contrasting 
look against the paper. You can ink the edges in
a contrasting colour for a different look too.

 Spellbinding Acetate – Tutorial
 To create these embellishments, you need the Spellbinders Shadow Flowers, Mix’d Media Inks, Fairy Dust, a piece of Acetate or light Transparency & A Heat Gun.

Step 1: Cut out your Acetate shape from the
Spellbinder Die Cut. If you place a sheet of
patterened paper over the acetate as you cut it, it helps
to give a cleaner cut. You also have an extra piece
cut that you can use on something else later.

Step 2: Ink your piece of Acetate with the Mix’d Media Ink

 Step 3: Sprinkle fairy dust over the wet ink.

 Step 4: Heat with your heat gun, Heat long enough
so that the acetate starts to crinkle up slightly.
This adds a nice dimension to the piece.
If you find that your glitter keeps rubbing off you can
also add a little clear embossing powder to your piece
while you are heating it. I liked the look of it being
more hit and miss than perfectly coated.

Step 5: You can lightly ink the edges in a contrasting
colour to add more depth to your pieces.


Step 6: On this piece I lightly sprayed one end with some smooch spritz.

Materials:
Clearsnap
Spellbinders
GCD Studios

Other Products:
Brads & Gems
Machine Sewing
Crochet Flowers
Masking Tape

Adhesives – Helmar Tiger Grip, Pritt Glue Stick, Ranger – Glossy Accents,
Double sided tape & 3D Foam Tape!
Prima Distressing Tool
Heat Gun.

Thanks for Dropping By!
I hope you have enjoyed these tutorials!
Have a great Day!
Hugs
Michelle x